
Integrating PrinterOn with Okta
When integrating your PrinterOn service with Okta Identity Management service, you must register PrinterOn as a trusted app in Okta.
📘 Contents
📘 Instructions
To register PrinterOn with Okta:
Log in to the Okta portal at your Okta Org URL.
In the Okta console, click Applications. The Applications tab appears.
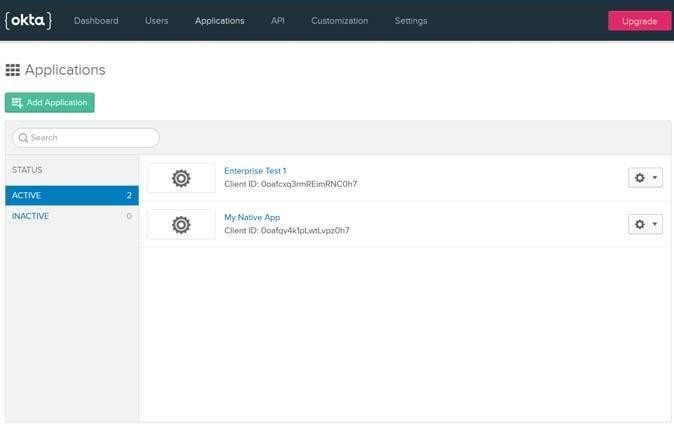
Click Add Application. The Create New Application page appears.
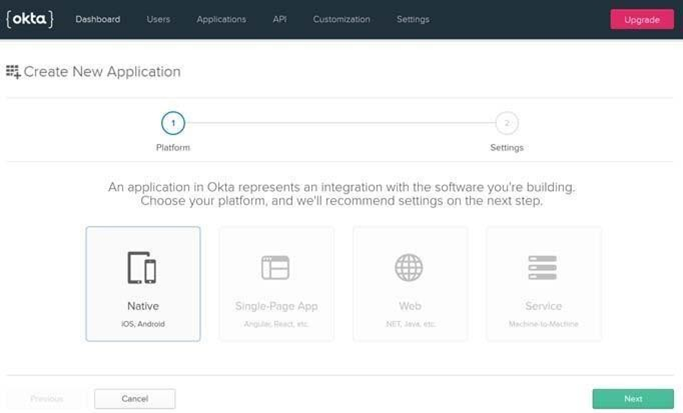
For the application platform, select Native, then click Next. The Settings page appears.
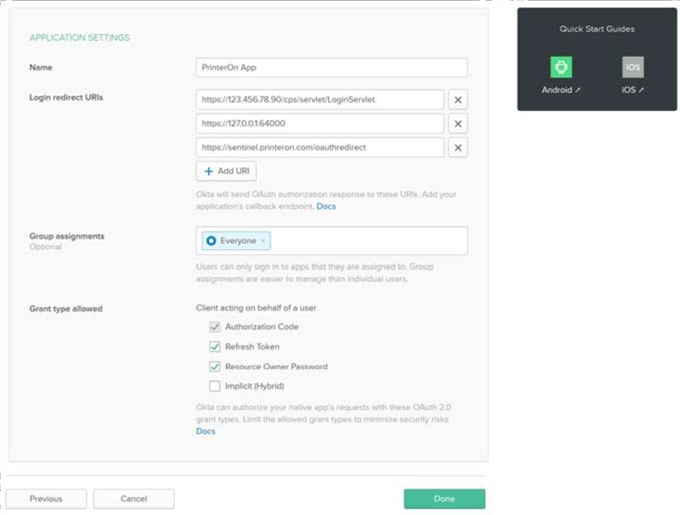
In the Application Settings section, configure the settings as follows:
Setting | Description |
Name | Specify a unique name you’ll use to identify the PrinterOn service. |
Login redirect URIs | Specify the following redirect addresses. Click Add URI to add additional fields.
ServiceURL>/cps/servlet/LoginServlet where <ServiceURL> is the Service URL for your PrinterOn service.
|
Grant types allowed | Configure the following grant types:
|
Click Done. The app is created and the General tab appears.
Once the app is created, there is one more setting you need to modify to generate the client secret, which you’ll need to properly configure the PrinterOn server to use the Okta service.
In the General tab, scroll down to the Client Credentials panel, then click Edit to edit the credentials settings.
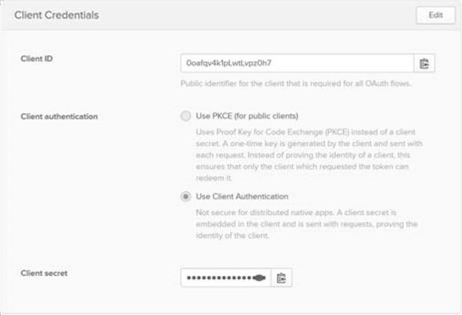
Change the Client authentication setting to Use Client Authentication, then click Save. A client secret is generated and displayed in the panel.
You’ll need to copy the Client secret—as well as the Client ID—into Configuration Manager to configure your authentication settings.