
Retrieving communication information from Azure AD.
📘 Instructions
To successfully authenticate and communicate with the Azure AD user store, you’ll need to configure PrinterOn with the following information from Azure AD:
The Azure AD endpoints:
Authorization Endpoint: The location where PrinterOn redirects the user when they attempt to sign in to use the service.
Token Endpoint: The location from which PrinterOn requests Access, ID, and Refresh tokens, which PrinterOn uses to determine the authentication status of the user.
Graph API Endpoint: The location where PrinterOn accesses the Azure AD Graph API, which allows PrinterOn to synchronize data between the Azure AD and PrinterOn user stores.
Note: Endpoints are the same for all applications in the same directory.
Application ID: Automatically assigned to your PrinterOn service when registered it as a trusted application in Azure AD.
Application Key: A secret code that you must generate in Azure AD.
You’ll need to copy both these pieces into Configuration Manager to configure your authentication settings.
To retrieve the communication information from Azure AD:
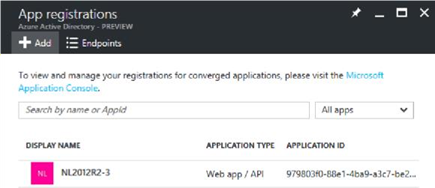
In the Azure Portal, click App Registrations. The App Registrations panel appears.
Click Endpoints. The Endpoints panel appears.
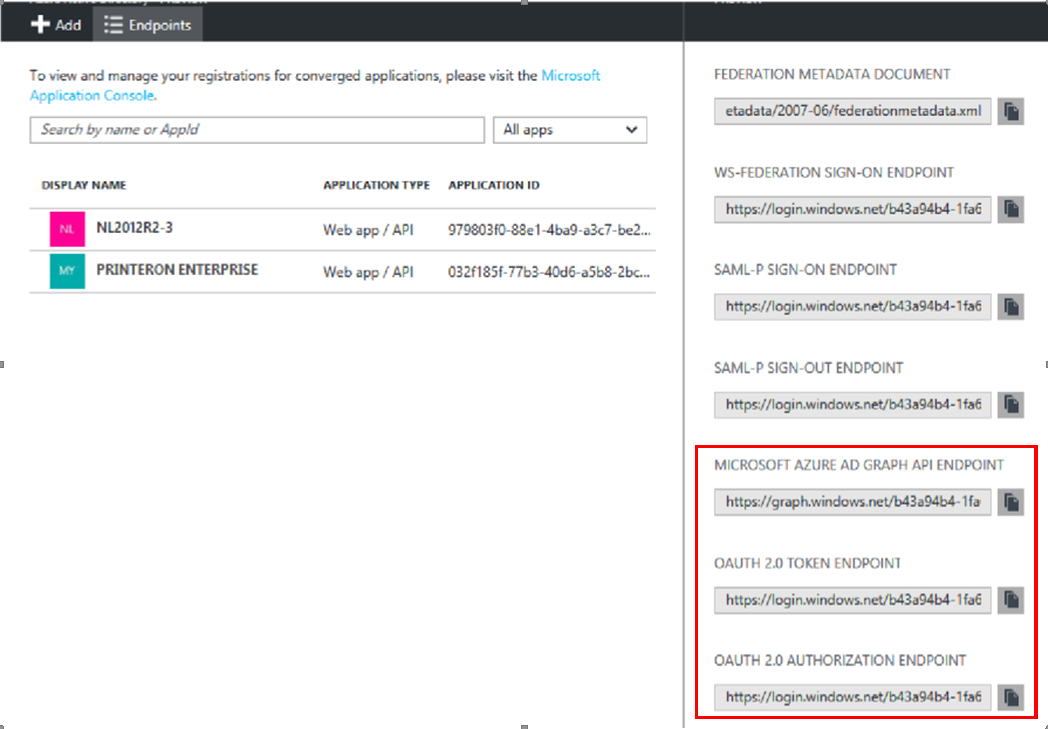
Locate and copy each of the following endpoints. You’ll paste these values into the fields of the same name in the Azure AD configuration in Configuration Manager.
Microsoft Azure AD Graph API Endpoint
OAuth 2.0 Token Endpoint
OAuth 2.0 Authorization Endpoint
In the Registration panel, click the PrinterOn Enterprise app. The PrinterOn Enterprise app summary appears.
In the PrinterOn Enterprise app summary, copy the Application ID value. You’ll paste this value in the Application ID field in the Azure AD configuration in Configuration Manager.

In the PrinterOn app summary, click All Settings. The Settings Panel Appears.
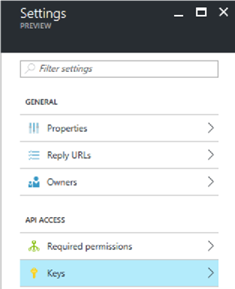
In the Settings panel, under API Access, click Keys. The Keys panel appears.
In the Keys panel, generate your secret key:
Complete the Description and Expires fields.
Click Save. Azure AD generates the Application key.
Copy and save this value. You’ll use this value in the Application Key field in the Azure AD configuration in Configuration Manager.