
Setting up Client Certificate authentication
Before you can set up your email client to use a certificate for authorization, you’ll need a certificate from a trusted Certificate Authority (CA). Acquiring a certificate is outside the scope of this documentation. However, there are several CAs you can contact.
This procedure assumes you have a client certificate available and a server certificate installed on the PrinterOn server.
This authentication method is not available for managed cloud deployments of PrinterOn Enterprise.
📘 Instructions
To set up a client certificate:
In the left navigation pane of the Azure portal, click Certificates and Secrets.
In the Certificates section, click Upload Certificate. The Upload Certificate dialog appears.
Browse the folder where the client certificate is stored and select the certificate.
Next, you can specify the API permissions for the app. From the left menu, click API Permissions. The API Permissions panel appears.
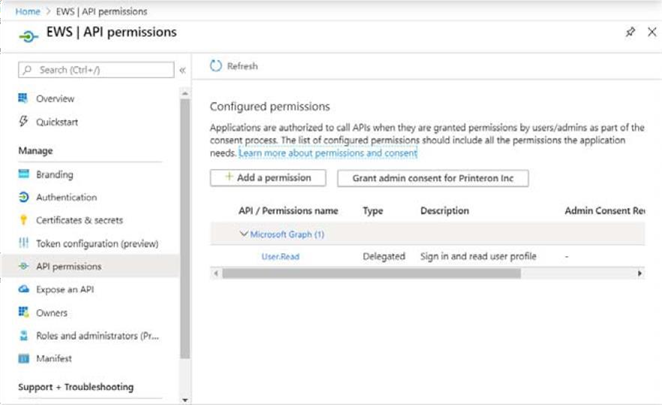
Click Add a permission. The Request API Permissions page appears.
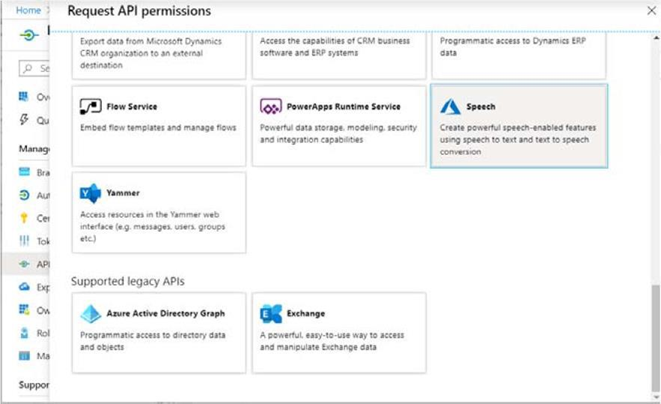
Scroll to the bottom of the page. Under the Supported Legacy APIs section, select Exchange. The Exchange permissions page appears.
In the Exchange permissions page, choose Application permissions, then, from the list of delegated permissions, expand the EWS group and click EWS.AccessAsUser.All.
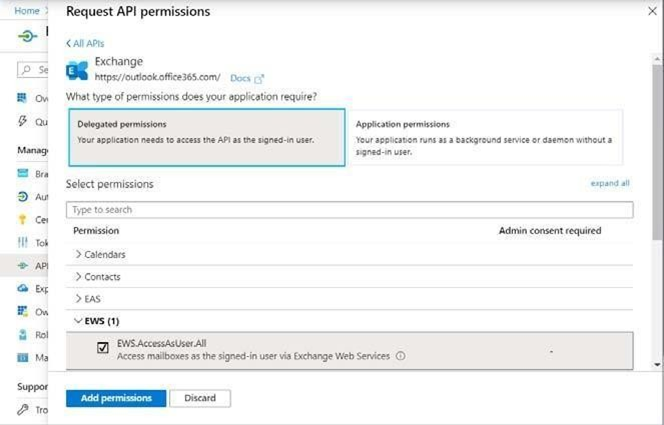
Click Add Permissions to add the permission and return to the API permissions page.
Click Grant admin consent. A message will pop up asking you to grant consent for all accounts in your organization.

Click Yes to grant consent.