
Setting up ROPC Flow Authentication
📘 Instructions
To set up ROPC Flow Authentication:
From the left menu of the Azure AD portal, click Authentication. The Authentication panel appears.
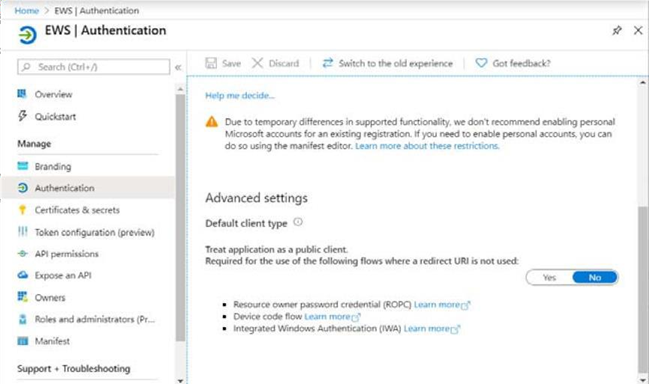
Scroll to the bottom of the Authentication panel and locate the Advanced Settings section. Toggle the switch to Yes to treat the application as a public client.
Click Save.
Next, you can specify the API permissions for the app. From the left menu, click API Permissions. The API Permissions panel appears.
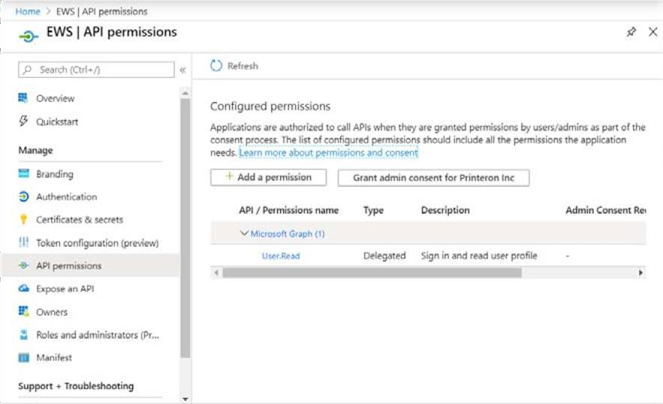
Click Add a permission. The Request API Permissions page appears.
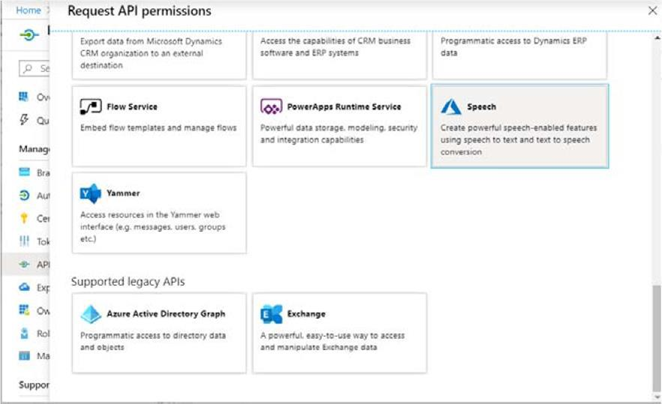
Scroll to the bottom of the page. Under the Supported Legacy APIs section, select Exchange. The Exchange permissions page appears.
In the Exchange permissions page, choose Delegated, then, from the list of delegated permissions, expand the EWS group and click EWS.AccessAsUser.All.
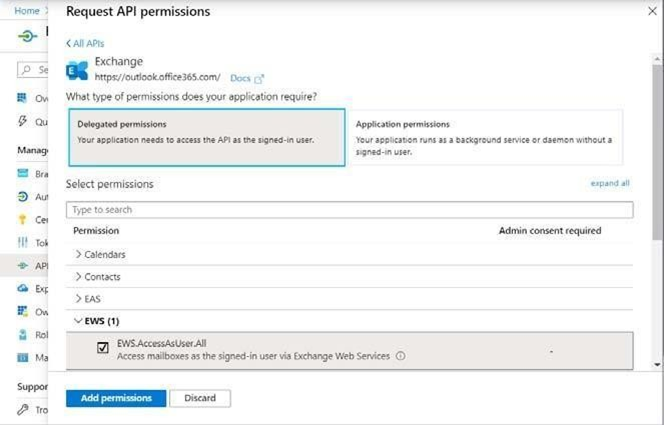
Click Add Permissions to add the permission and return to the API permissions page.
Click Grant admin consent. A message will pop up asking you to grant consent for all accounts in your organization.
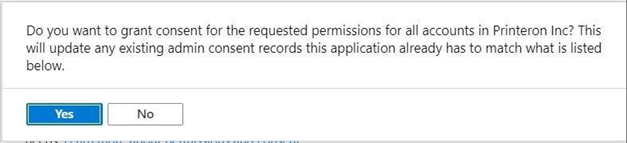
Click Yes to grant consent.